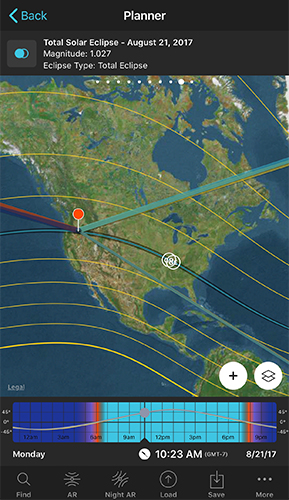
Same Planner you already know from Lessons 2–6. Two more Top Panels, plus a map layer — that's the whole toolkit for planning an eclipse shot.

Tap the eclipse selector button to choose from PhotoPills' database of upcoming (and past) eclipses. Once selected, the map draws the eclipse path, and the panel shows the name, date, magnitude, and type for wherever the Red Pin sits.
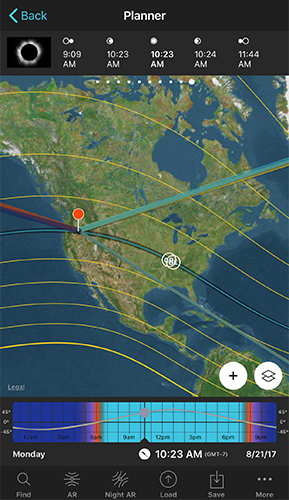
The map colors mean different things depending on which kind of eclipse you've selected — check the legend in the bottom-left corner of the map if you forget which is which.

Once you've picked an eclipse on Panel 9, swipe to Panel 10 to see the exact local time of each key phase — first contact, totality begins, maximum, totality ends, last contact.
Everything you see on Panels 9 and 10 is really just a map layer underneath — the same kind you toggled for the Sun, Moon, and Milky Way back in earlier lessons. Turn it on independently from the Map Settings button (next to the (+) Map button) if you want the eclipse path visible while working with other panels.
The 2017 eclipse shown throughout this lesson is a real PhotoPills planning example — the same workflow works whether you're planning months out or scouting the morning of.